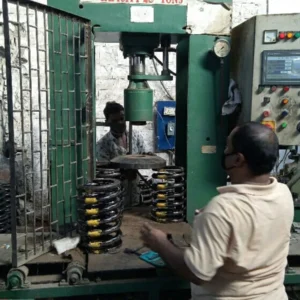
Universal Testing Machine (UTM) are versatile equipment that can be used to test materials like metals, composites, and plastics. It is used widely in research labs, manufacturing facilities, and quality control departments for assessing mechanical properties. This product’s features, technical specifications, and operating cycle are described below
Details and Features
- Purpose: The primary function of a Universal Testing Machine is to apply controlled forces to test specimens to evaluate mechanical properties such as tensile, compression, bending, etc.
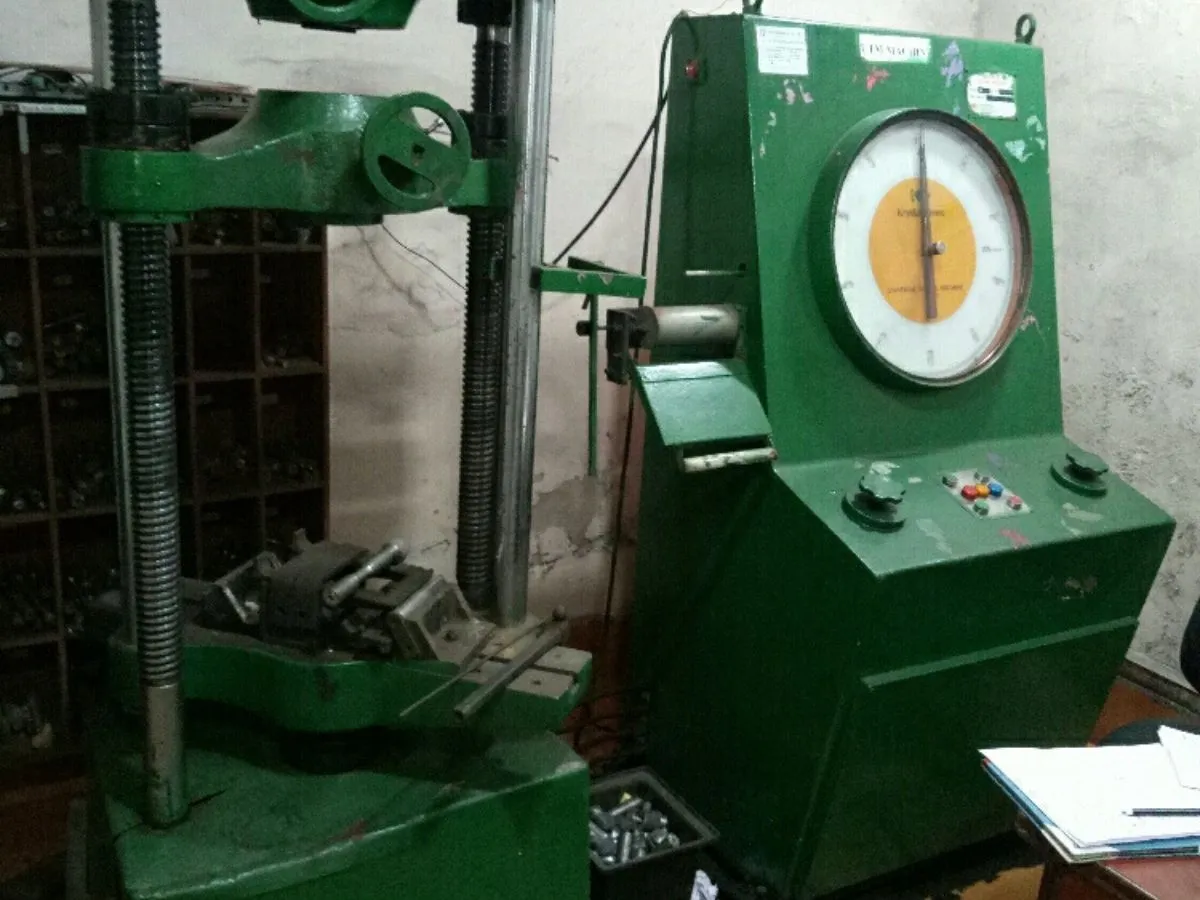
- Design: The UTM consists of a frame with a load frame, grips for holding test specimens, and force measurement systems. They can be configured to perform various tests, such as tension, compression bending, and shear.
- Load application mechanism: UTM uses hydraulic, pneumatic, or electromechanical systems to apply controlled loads on the test specimen. It is possible to control the parameters of testing such as the load rate, hold time, and displacement rate.
- Load measurement: This machine is equipped with load sensors or load cells to accurately measure the force that is applied to the test specimen.
- Measurement of displacement: UTM is equipped with displacement sensors or mechanisms that measure the displacement or deformation of the test specimen when it is under load. These data are crucial to calculate material properties, such as modulus elasticity and strain.
- Control system Modern UTM is equipped with advanced control systems that allow precise adjustments of testing parameters as well as real-time monitoring for load and displacement. This allows for accurate and repeatable results.
- Safety Features UTM has safety features that protect the operator and prevent damage to equipment and test specimens. These features may include overload protection buttons, emergency stop buttons, and safety enclosures.
- Data Acquiring: Several UTM have data acquisition systems that record and analyze results in real time. These data include load-displacement curves, stress, and strain diagrams, as well as other parameters.
- Compatibility: They can accommodate many different test specimens of various sizes, shapes, and materials.
- Ease-of-Use: Easy-to-use interfaces and intuitive controls allow UTMs to be used by operators of all levels of expertise.
Technical Specifications
- Load capacity: This is usually specified in force units such as Newtons or Kilograms, and indicates the maximum load that the machine can apply on the test specimen.
- Accuracy: The accuracy of measurements of displacement and load, expressed in percentages of the full-scale capacity.
- Speed range: A range of loading speeds available for testing. Often specified in millimeters/minute (mm/min) and inches/minute (in/min).
- Maximum Stroke: The maximum distance that the machine’s actuator is capable of traveling, which determines the maximum deformation that the test specimen may undergo during the testing.
- Control resolution The smallest increment in load or displacement the machine can accurately control.
- Power Requirements Voltage, phase, and frequency requirements of electrical operation.
- Dimensions & Weight: The physical dimensions and weight of the device, including any clearances required for installation.
Description of the operating cycle
The following steps are usually included in the operating cycle of a Universal Testing Machine:
- Setup The operator sets up the UTM, selecting the appropriate grips and fixtures for the test sample. They must also ensure that they are mounted securely to the load frame.
- Initialization: The machine has been powered on and all necessary calibration procedures have been performed to ensure accurate measurement.
- Test Parameter Selection The operator chooses the desired test parameters, such as the test mode (tension-compression, bending), the load rate, and the displacement rate, depending on the material, the requirements of the standard, and the particulars of the test.
- Loading: The machine applies the load at the specified rate. The specimen may be stretched in tension, compressed in compression, or subjected to a bending force.
- Data Acquisition and Measurement: Load sensors and displacement sensors are used to measure the forces that are applied to the test sample and the deformations they cause. The data collection system records the data for analysis.
- Evaluation: Data is recorded and then analyzed to determine mechanical properties such as modulus of elasticity, elongation, tensile, and yield strength. This analysis can involve plotting strain-stress curves and calculating different material parameters.
- Reporting: A report is produced that documents the test setup, the parameters, and the mechanical properties observed on the test specimen. This report is useful for material characterization and quality control.

Reviews
There are no reviews yet.